Since the filament wasn’t coming out of my AnkerMake M5C, I did some repair work on it today. (Actually, this is already the third time I’ve had to fix it. It seems there’s an issue where the filament gets cut off if left unused for a long time, but I use unofficial filament… so that might be the cause.)
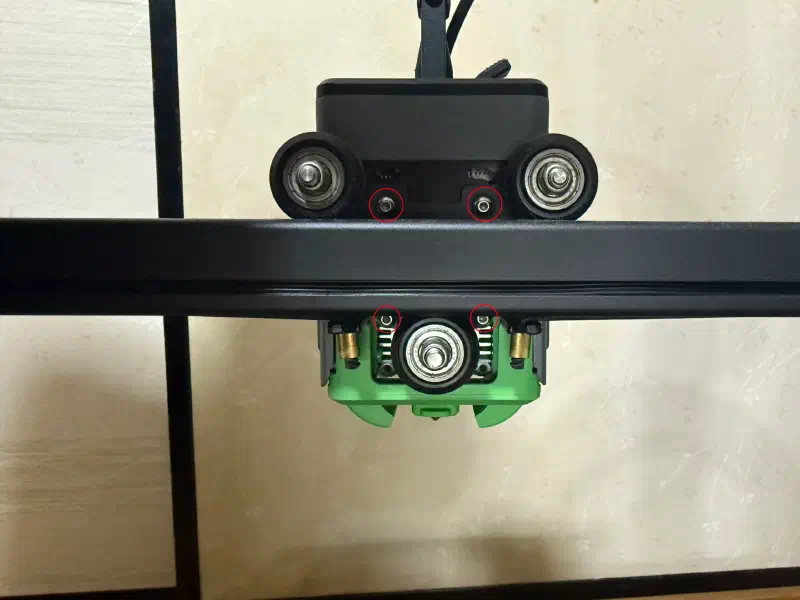
First, remove these four screws.
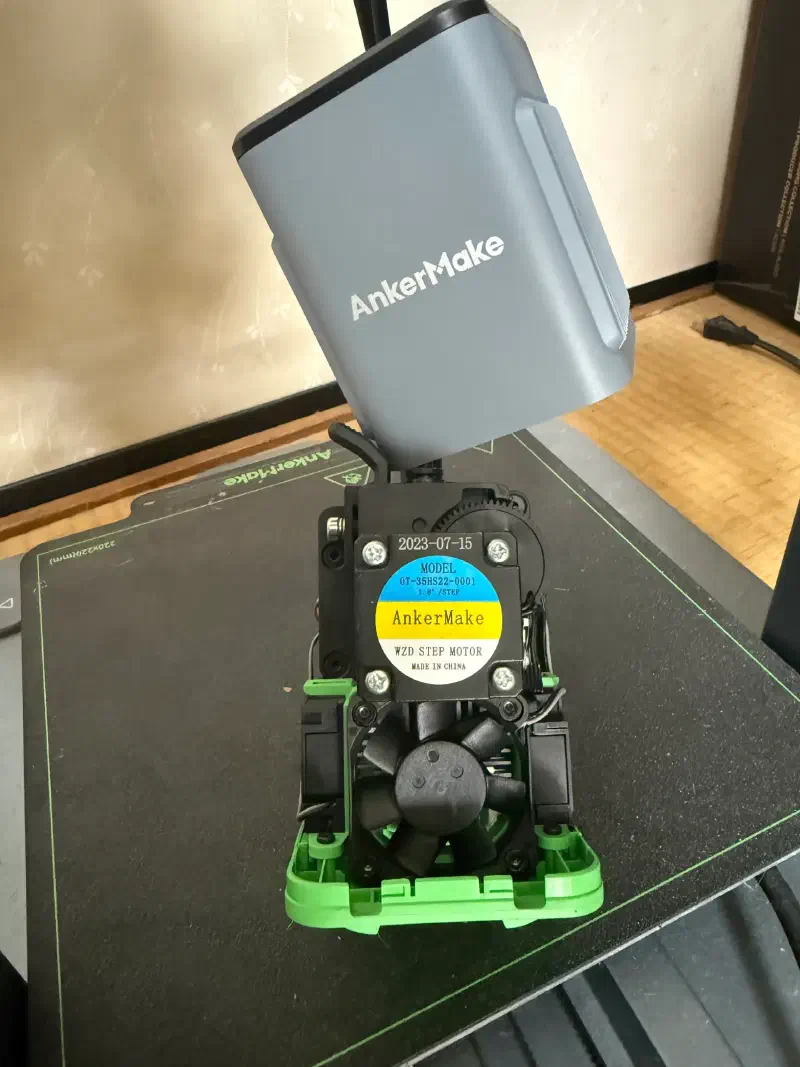
The inside looks roughly like this.
Next, separate the fan and the base from the extruder.
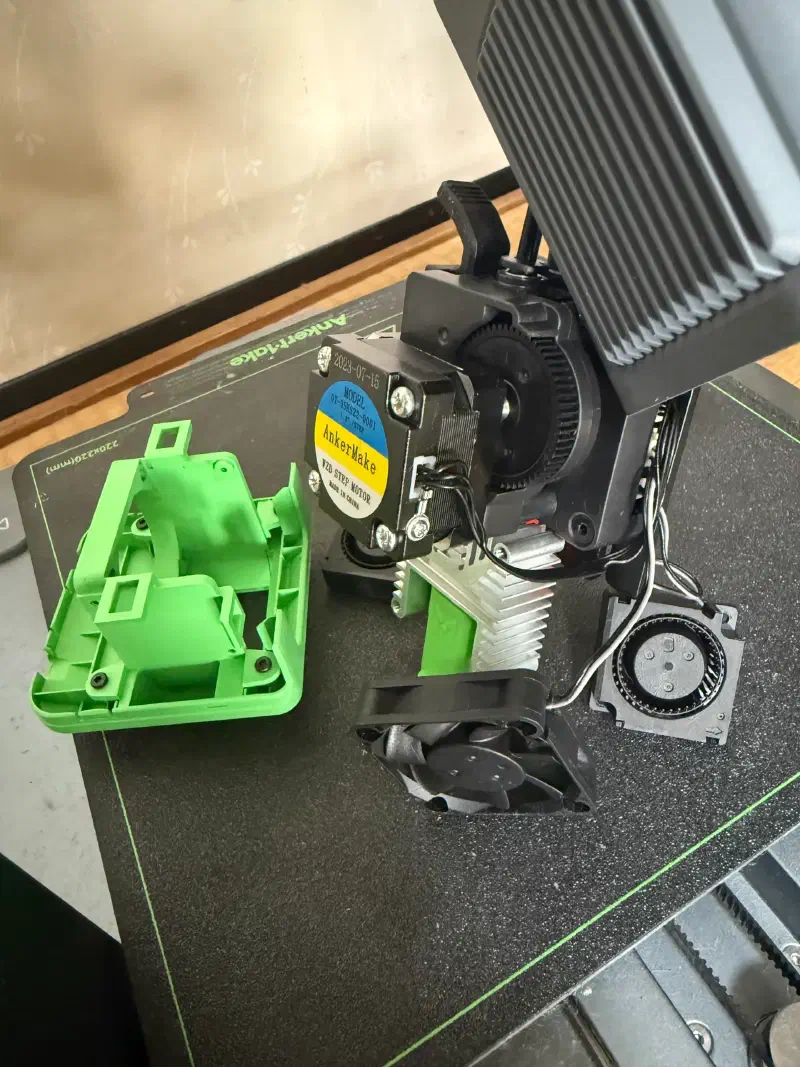
Then, remove the screws on the back of the extruder.
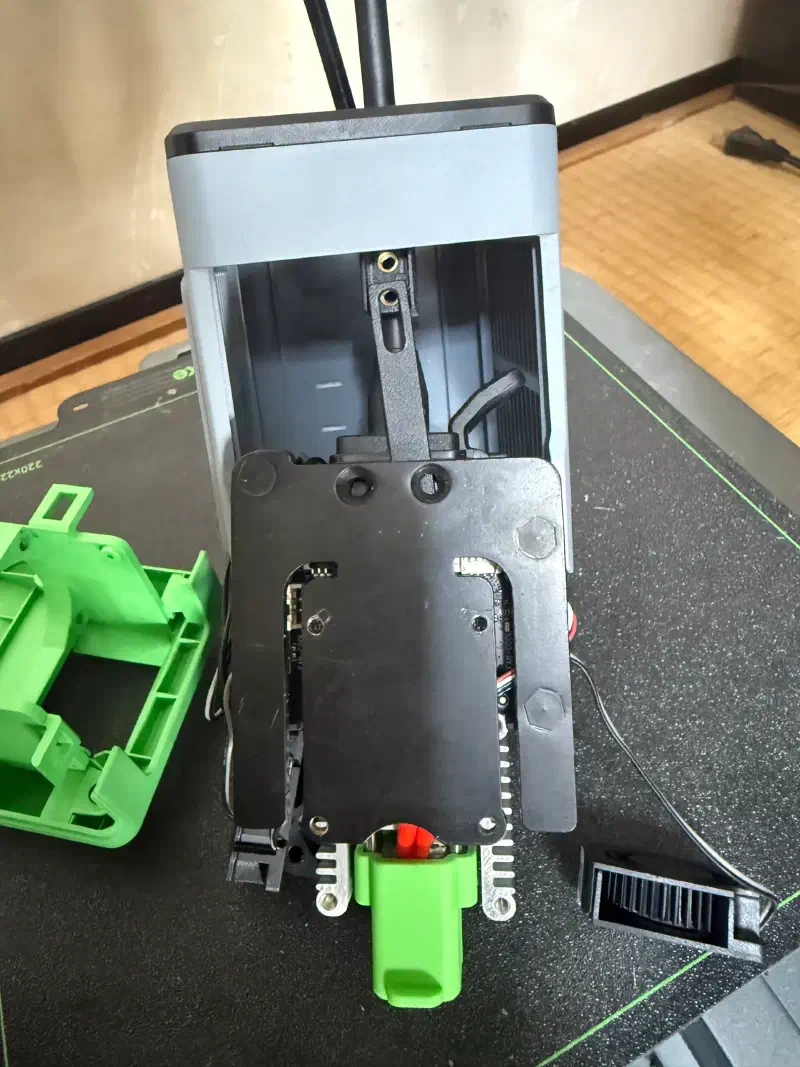
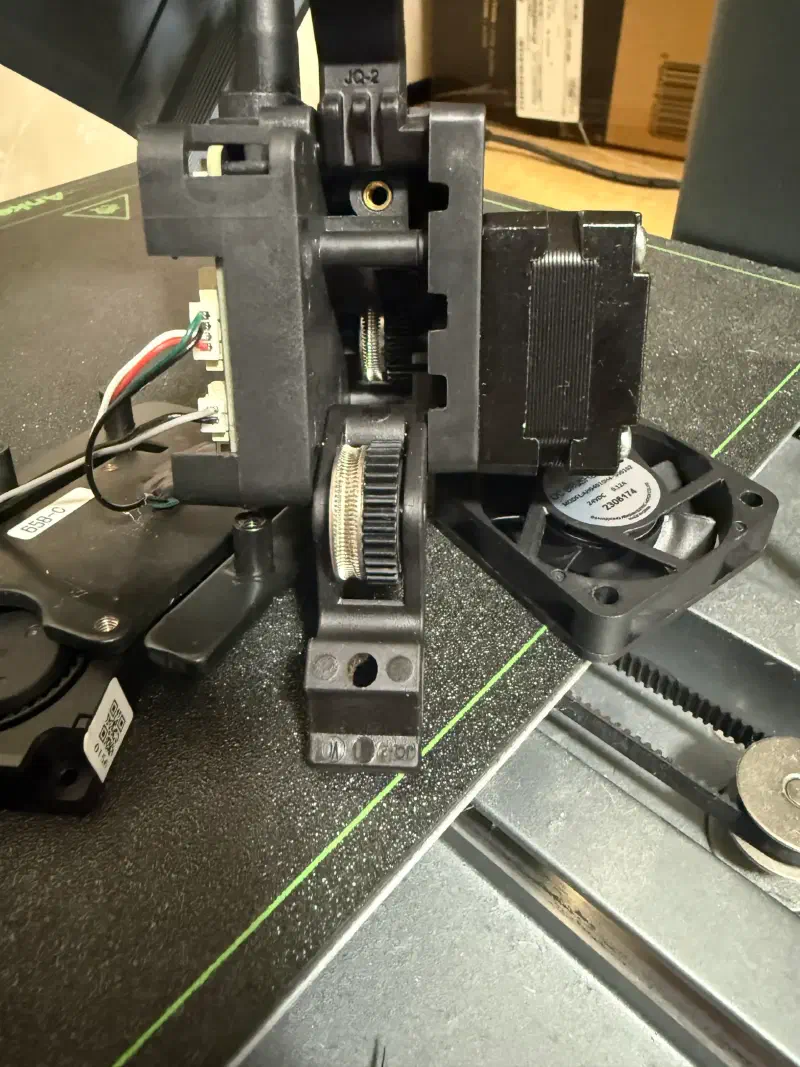
It will look like this.
Make sure not to forget the wiring layout. Taking notes is recommended.
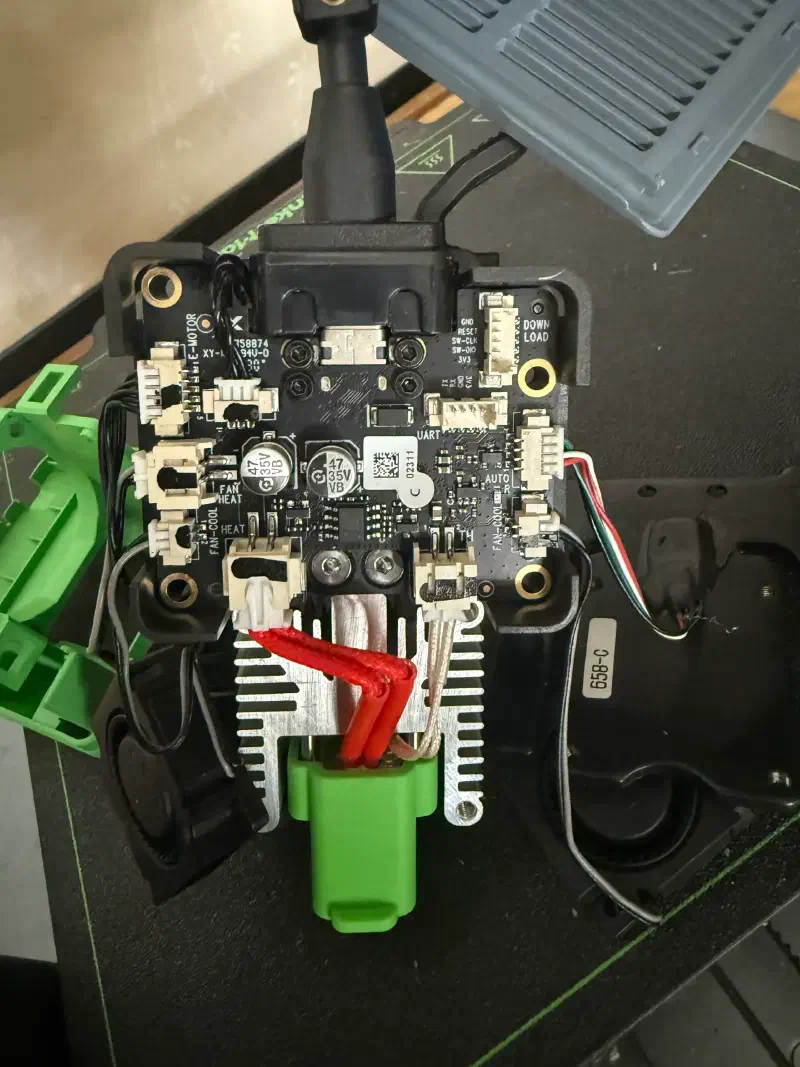
Loosen the two silver screws at the bottom of the black circuit board and pull out the hotend part.
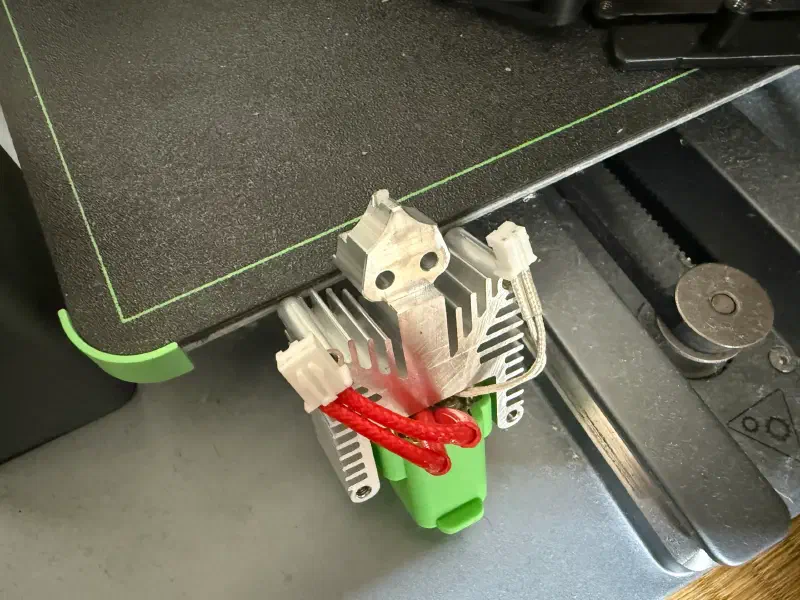
Pull the green outer shell off the hotend.
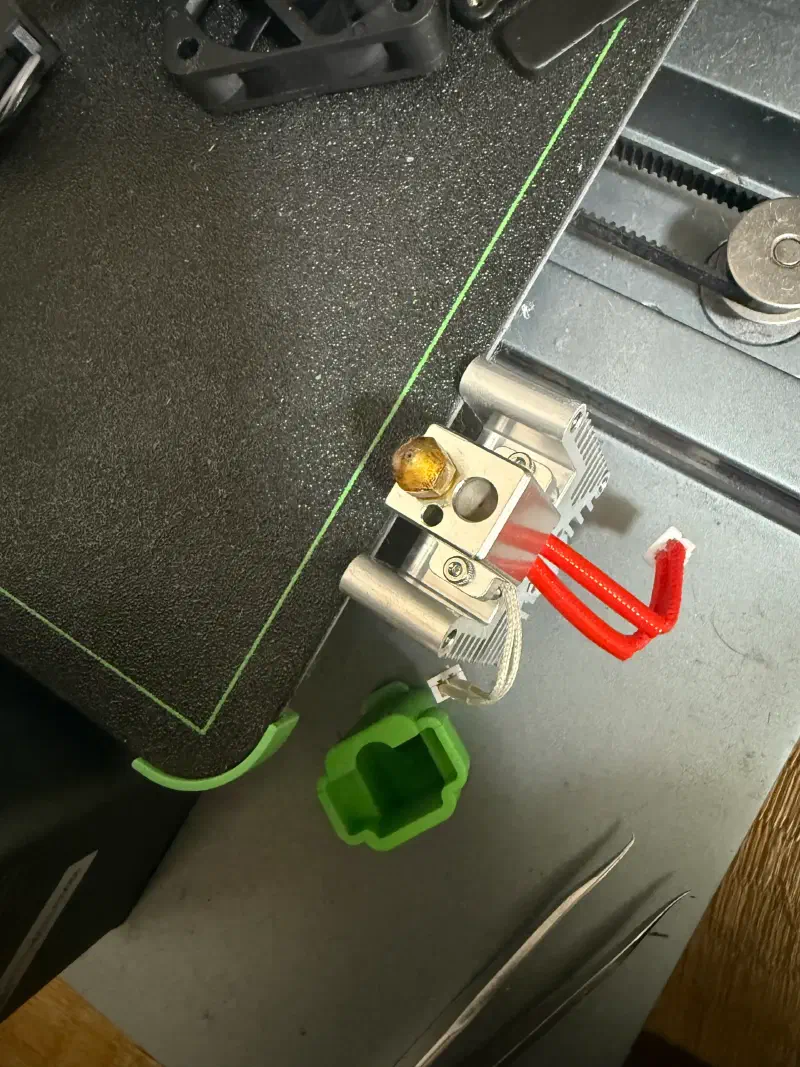
The filament was jammed inside the nozzle, so I pulled it out with tweezers.
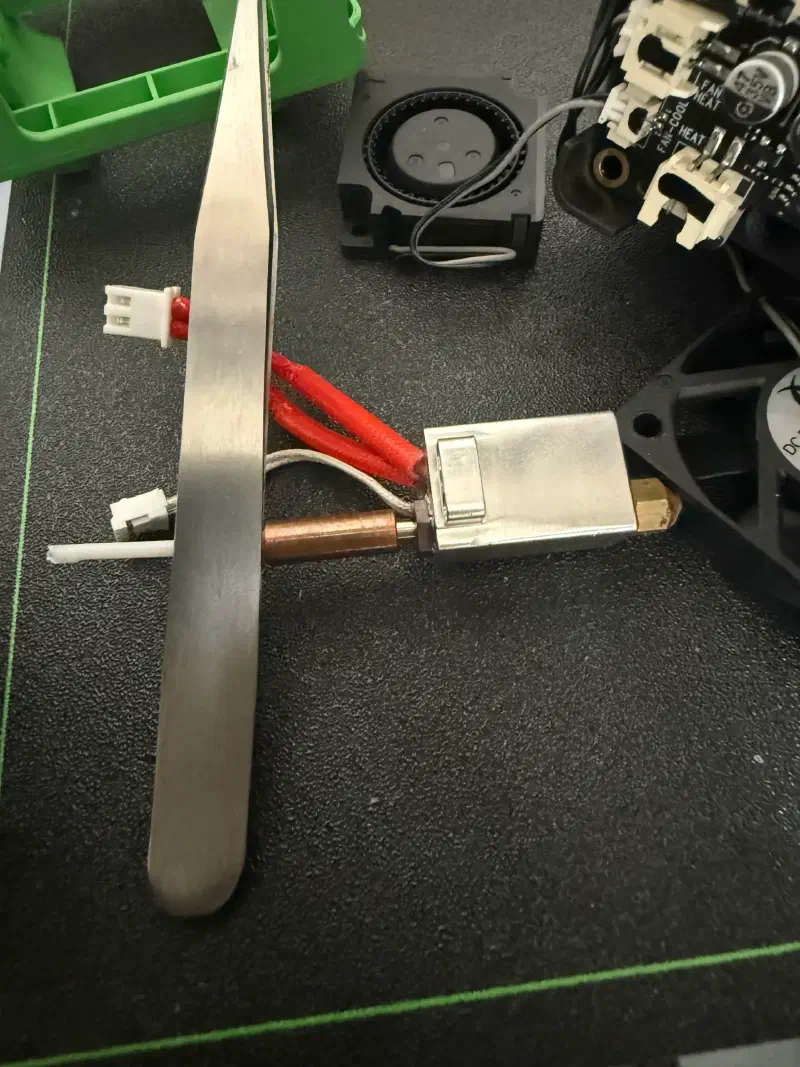
Put the internal parts back together, and check the status from the side while slowly inserting the filament.
If filament is still left inside the upper transport tube, it’s recommended to insert filament from the opposite side and push the remaining piece out through the original entrance.